Features
Invoicing
Auto complete items and amounts, recurring invoices, files attachments and more
Everything you need to send an invoice
Above and beyond your need for basic invoicing, these smart features will make you enjoy your admin tasks


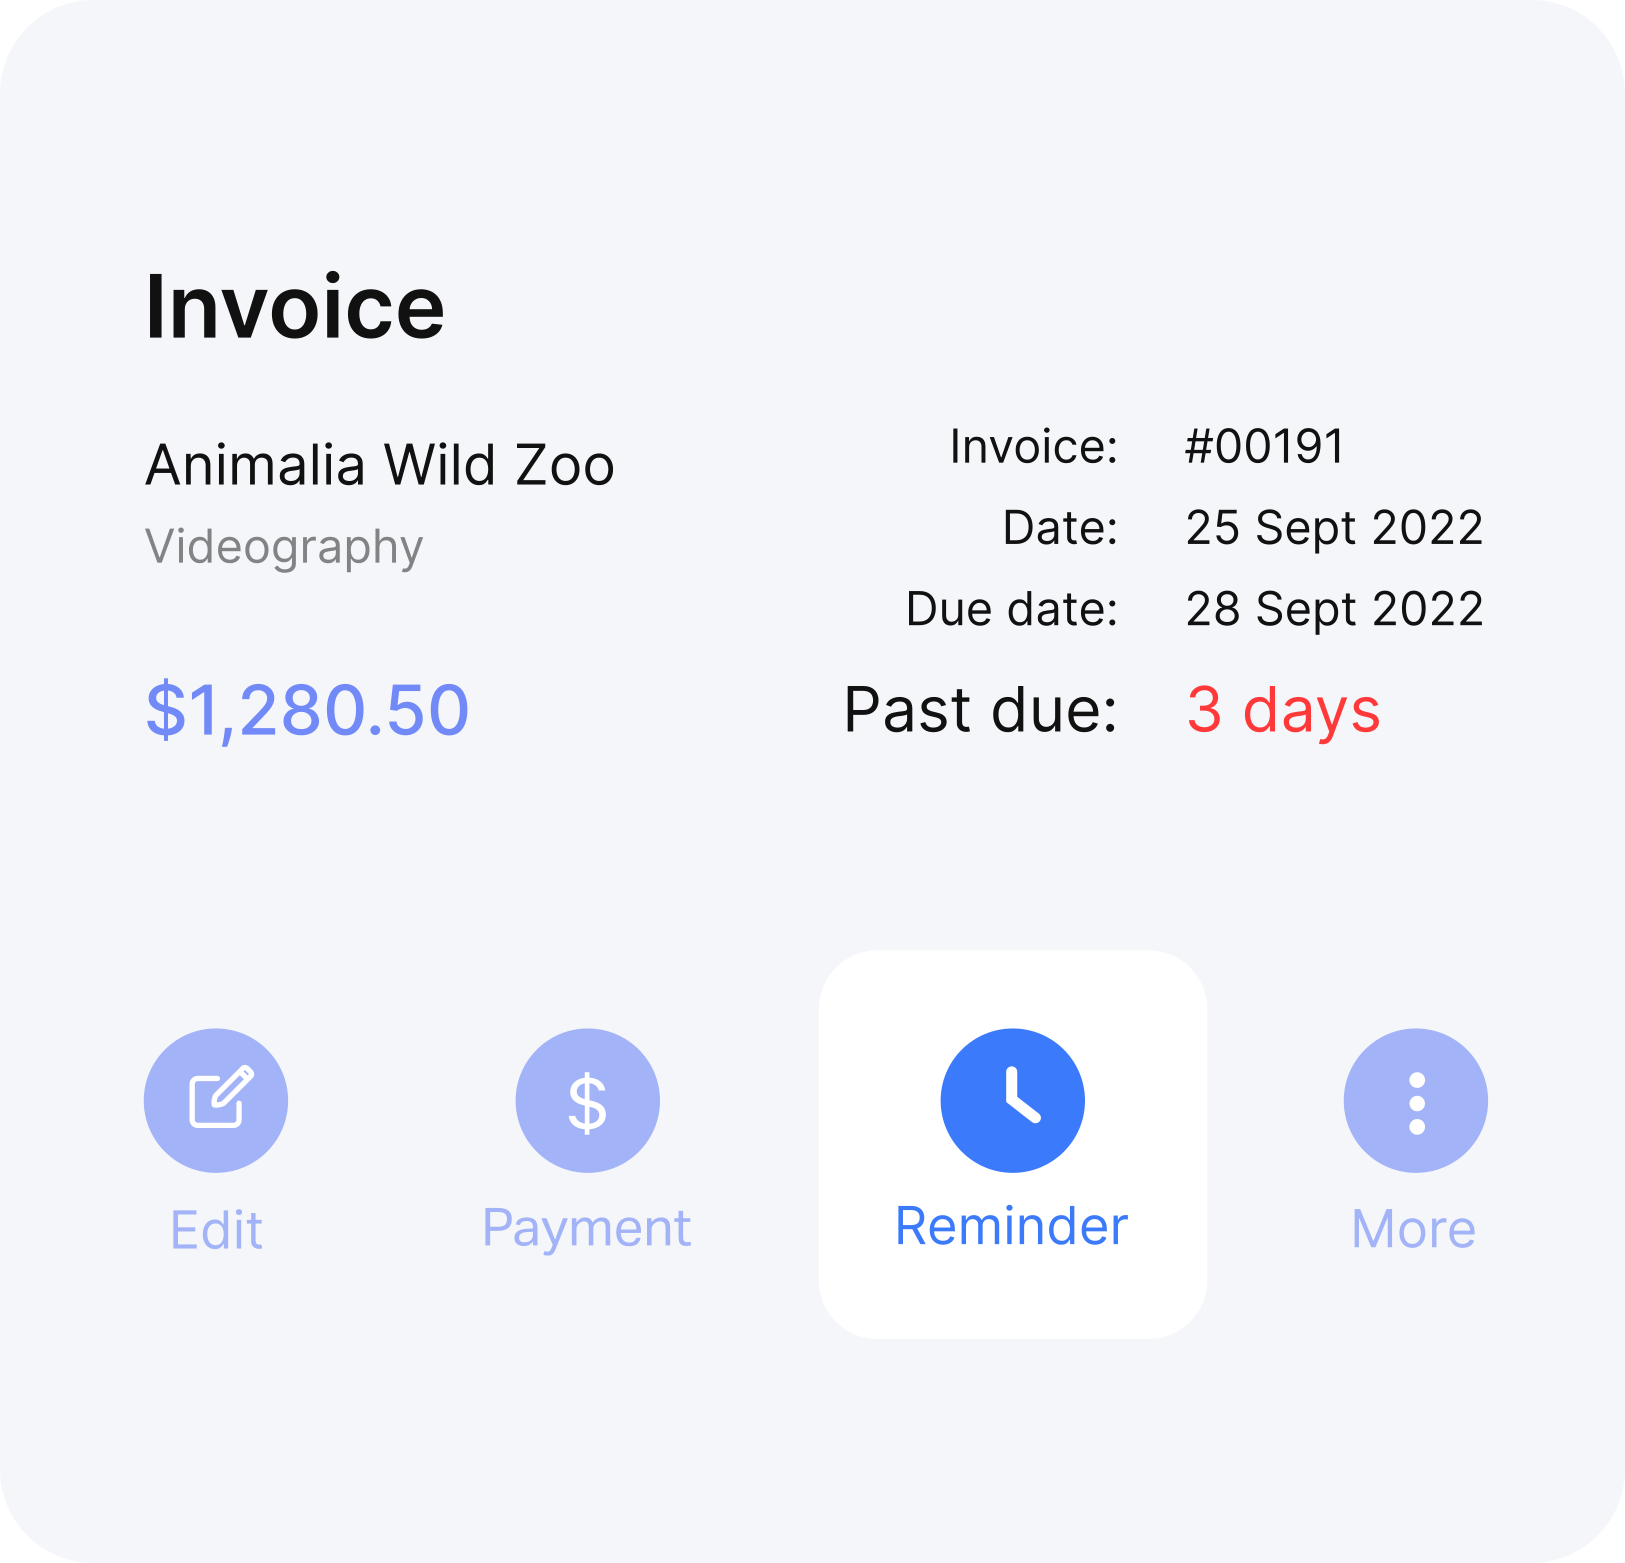
Automate reminders and use shortcuts for basic functions
Reminders are sent in the business time zone (optimising inbox delivery) and alerted when they are opened

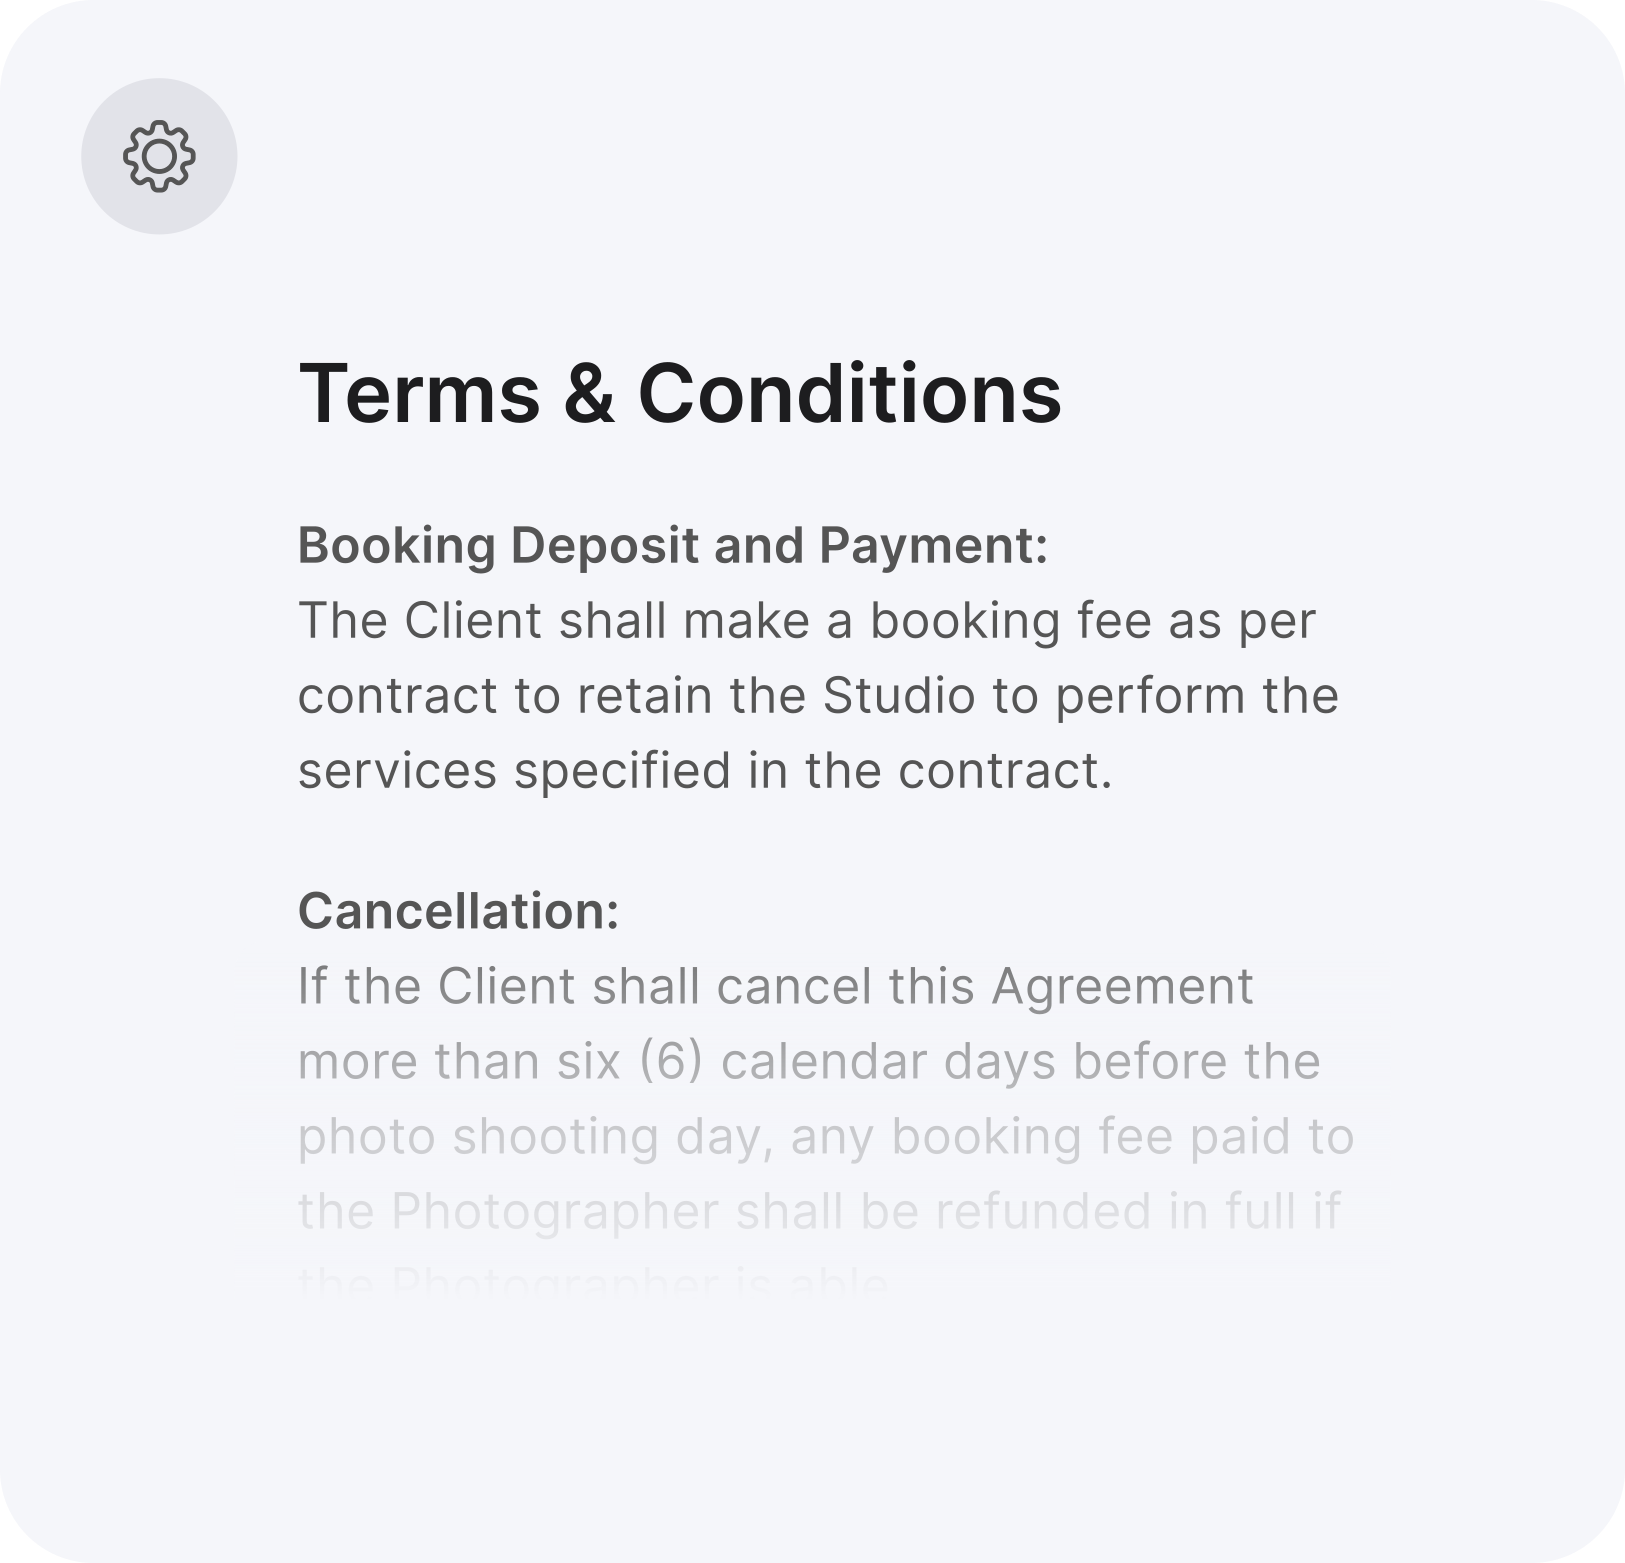
Start with predefined Terms & Conditions for your profession
We have researched and created invoice terms and conditions for several professions to get you started quickly
Change invoice columns
Add, hide, create new invoice columns that suit your business, so your invoice looks perfect

Send SMS
(coming soon)
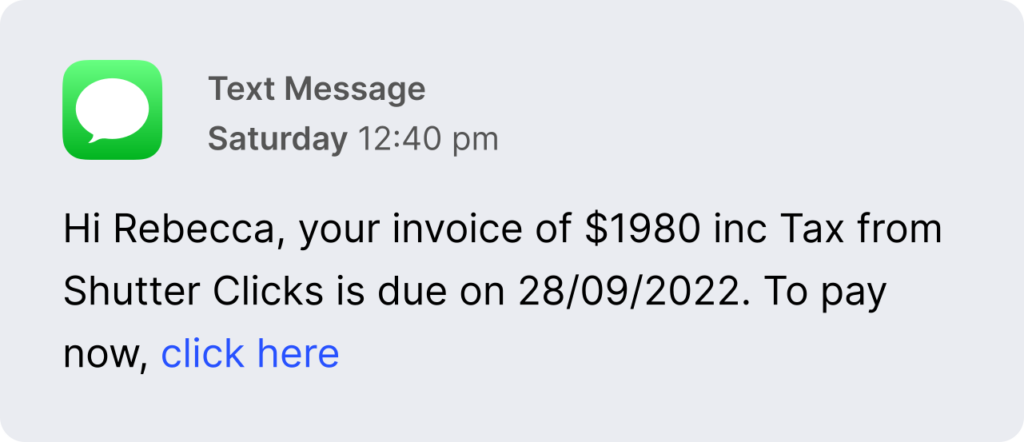
Send SMS notifications to customers for invoices & estimates along with email
* available in US & Canada only
* available in US & Canada only

Credit notes
(coming soon)
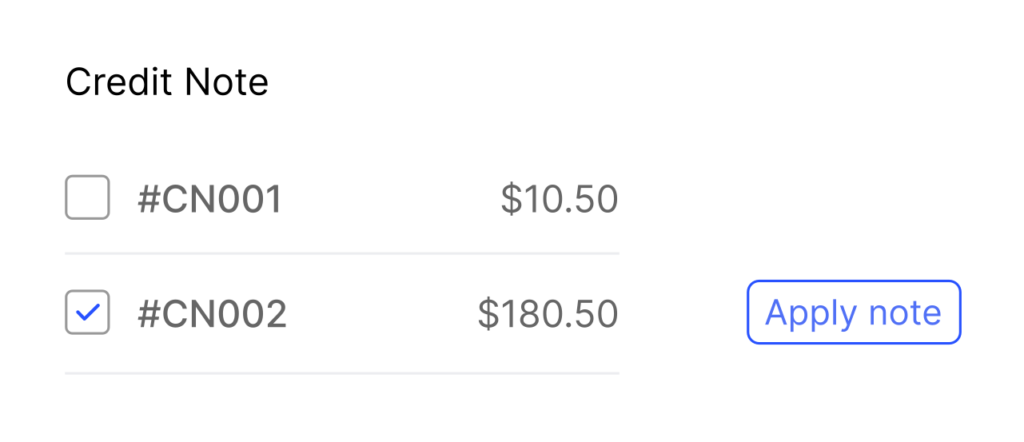
Quickly create and adjust invoices with credit notes

Additional features
Create and send invoices in seconds. Know when your client views them, and set auto payment reminders until paid.
- Configure invoice columns
- Auto invoice numbering
- Auto reminders
- Get invoice opening alerts
- Create recurring invoices
- Use purchase order numbers
- Track invoice & payment history
- Item numbers and SKUs
- Discounts & shipping
- Set taxes, terms & conditions
Pricing that
leaves you with no
second thoughts
Starting from $7.95
per month, per organisation
- All features included
- Pay as you go
- No lockin contracts
- Leave anytime
Can’t find a
feature?
feature?
Our staff can help you locate it
FAQs
How to create an invoice using Billbooks?
Login to your Billbooks reports.
On Dashboard, left navigation pane, head to Invoices tab, either click on the + sign or click on the Invoices tab.
You can see + New Invoice button, click to create invoice.
On Dashboard, left navigation pane, head to Invoices tab, either click on the + sign or click on the Invoices tab.
You can see + New Invoice button, click to create invoice.
How to offer discount in invoice?
Go to the Invoices tab, in case of new invoice, click on + New Invoice while for existing invoice, click on Edit, present on top corner.
You can either set a flat amount or discount percentage on an item by clicking on the discount amount. Once set, click on apply.
The discounted amount will automatically get generated.
You can either set a flat amount or discount percentage on an item by clicking on the discount amount. Once set, click on apply.
The discounted amount will automatically get generated.
Can invoice number be changed?
Yes, it can be changed. Go to the Invoices tab on the left navigation pane of Dashboard.
Either click on the dropdown of an invoice whose number you want to change or directly click on the invoice, you’ll find Edit option in both the ways.
Click on Edit option, change the number and. click on Save.
Either click on the dropdown of an invoice whose number you want to change or directly click on the invoice, you’ll find Edit option in both the ways.
Click on Edit option, change the number and. click on Save.
How to print invoice?
Click on the Invoices tab on left navigation pane of Dashboard.
Hover on the invoice you want to print and select Print option from the dropdown.
Another way to print is, click on the invoice, the Print option is located on the top right corner of the page.
Hover on the invoice you want to print and select Print option from the dropdown.
Another way to print is, click on the invoice, the Print option is located on the top right corner of the page.
Your data is yours
We take our security extremely seriously
We use maximum protection while sending and receiving data. If you stop using Billbooks, your data is erased forever and cannot be retrived.